
An interesting use-case for Intune and SCCM Co-Management - Part 2
Real-World scenario on where Intune and SCCM Co-management could come in handy. Configuring Azure AD Discovery
Intro
In the first part we configured the Cloud Management Gateway.
With that Pre-Requisite out of the way, we can now focus on Co-Management and Intune.
Before you can enable Co-Management, you need to make sure that you have met the following pre-requisites :
- Configuration Manager 1710 Current Branch or Technical Preview version 1709 (or later)
- Azure AD & Azure AD Discovery
- EMS or Intune license for all users
- Intune subscription (MDM authority in Intune set to Intune)
It is beyond the scope of this blog to cover these pre-requisites but we will focus in this post on configuring Azure AD Discovery.
Configure Azure AD Discovery
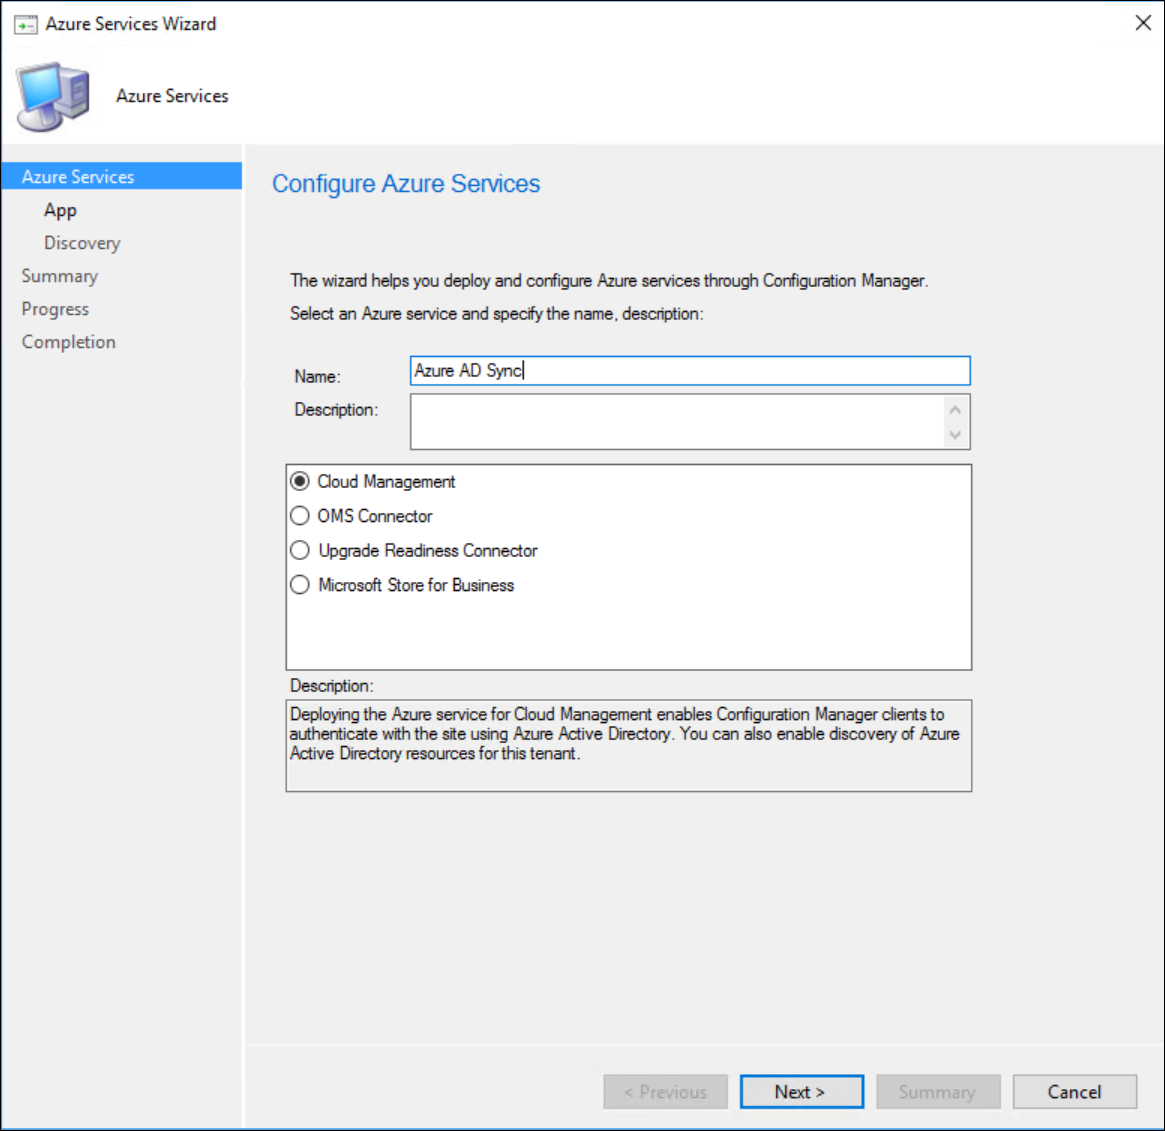
In your ConfigMgr Admin-UI, navigate to the Administration pane / Cloud Services / Azure Services and select “Configure Azure Services” from the quick access toolbar.
Provide a name that you like and select the “Cloud Management” Option. Click Next.
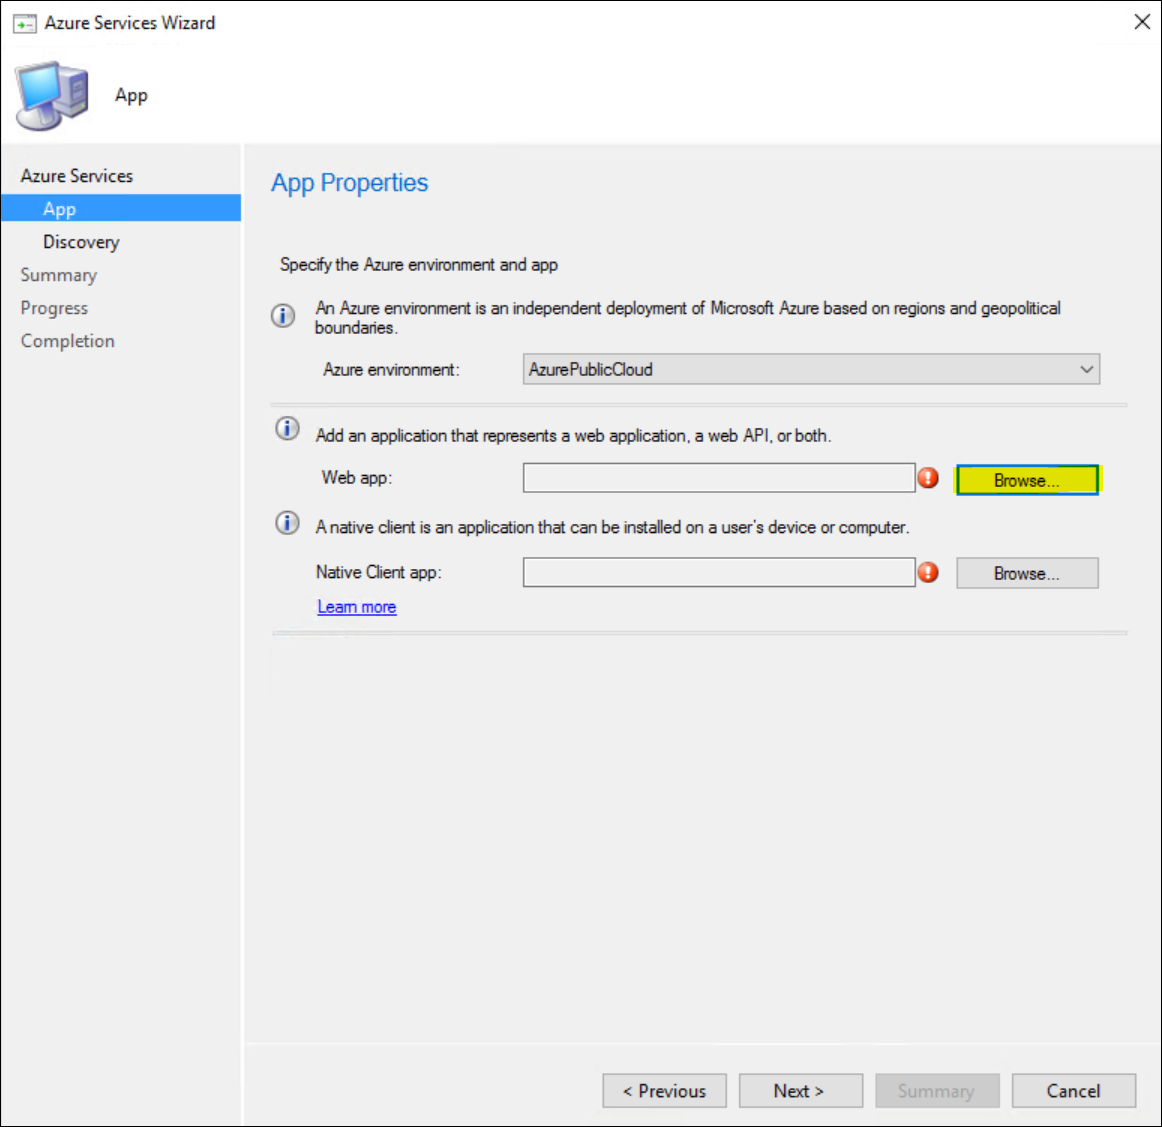
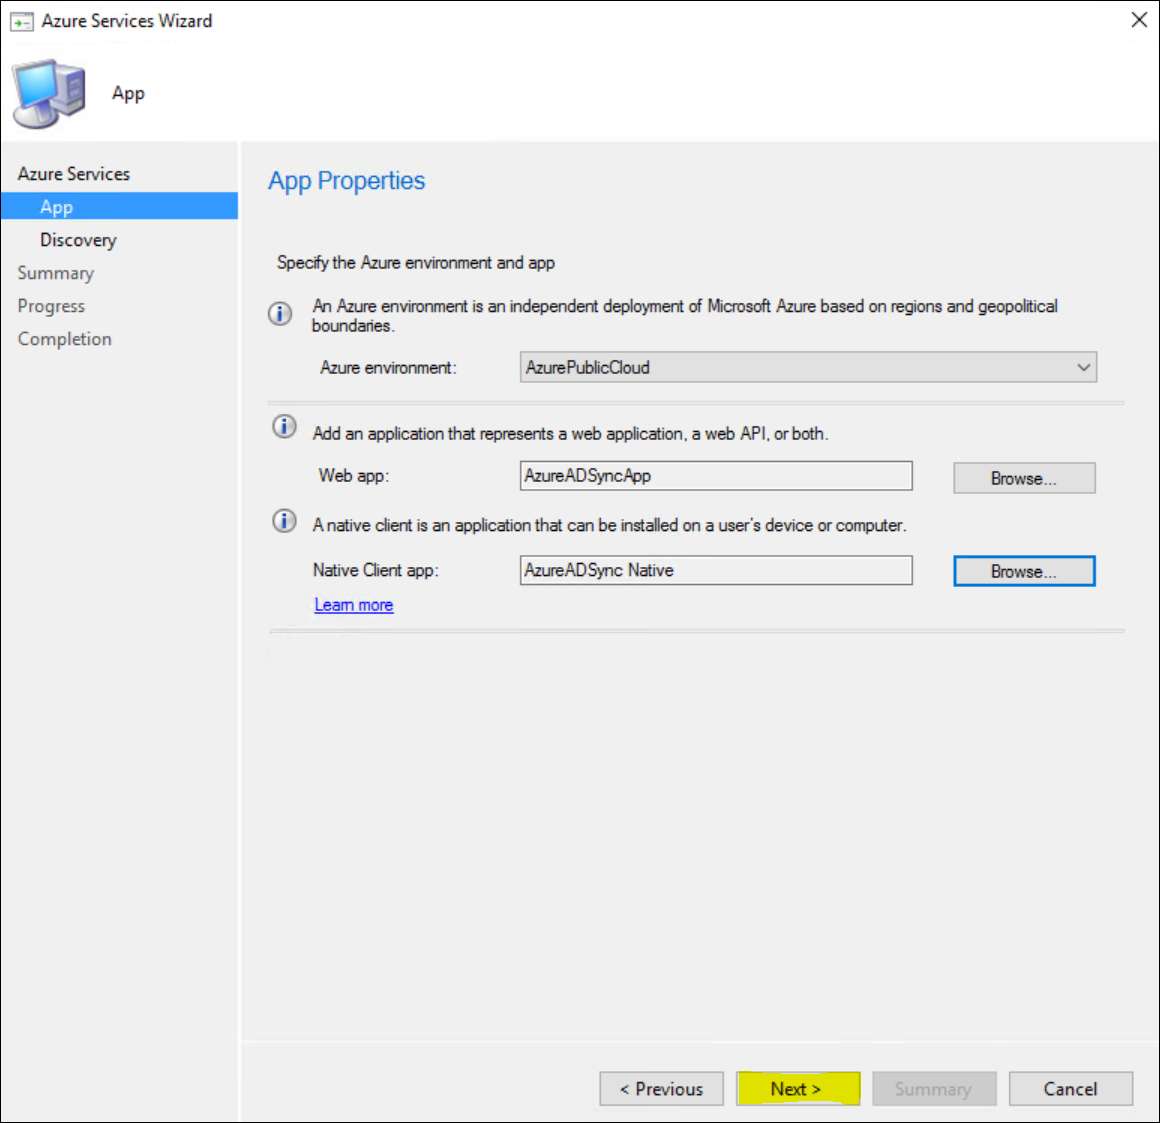
Click “Browse” for the Web App
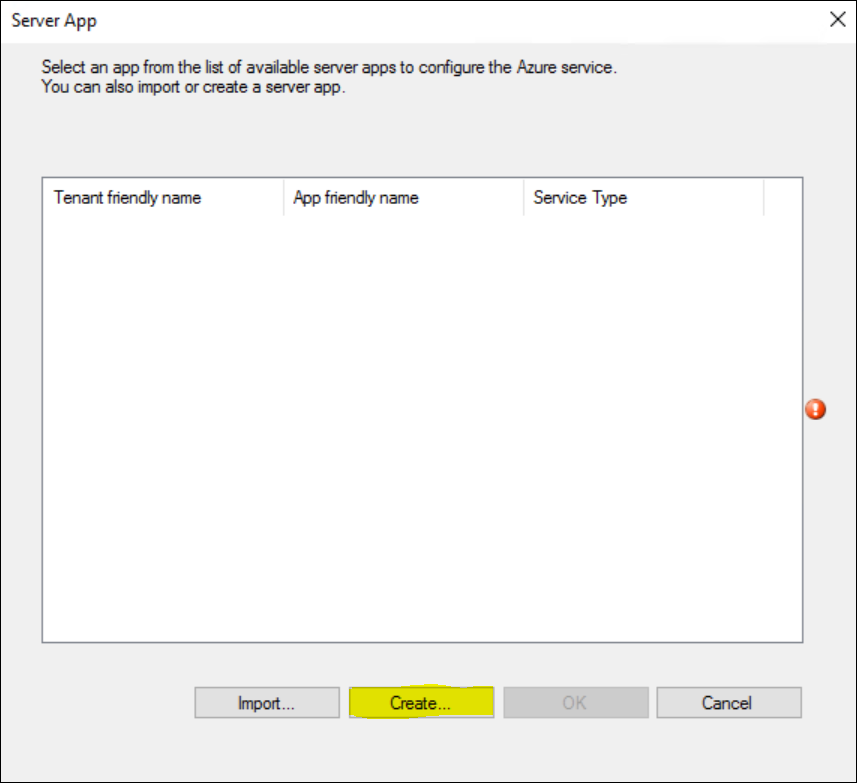
Click “Create” to create a new Web app.
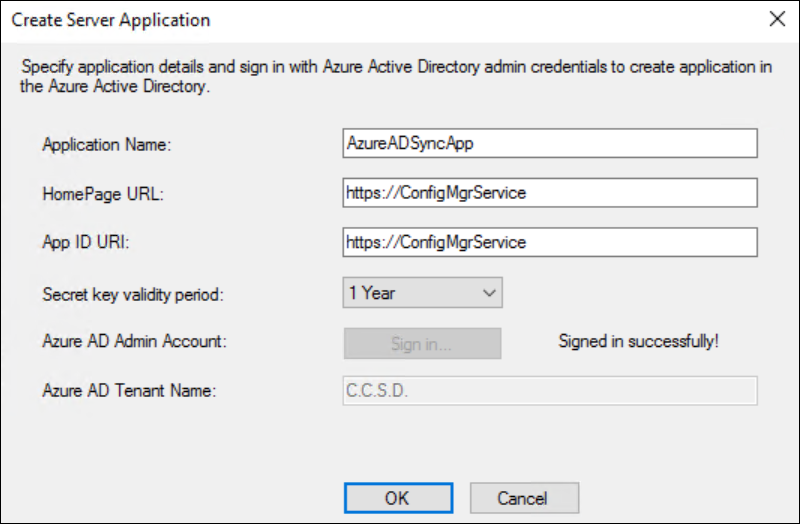
Provide a name for your App and sign in with your Azure AD Admin account.
You can leave the Homepage URL & App ID URI as they are (https://ConfigMGrService). Those are not really relevant from a ConfigMgr point of view and do not need to resolve to anything in your environment.
Change the validity period if you like.
If your sign-in was successful, the Tenant name should automatically be resolved. Click OK.
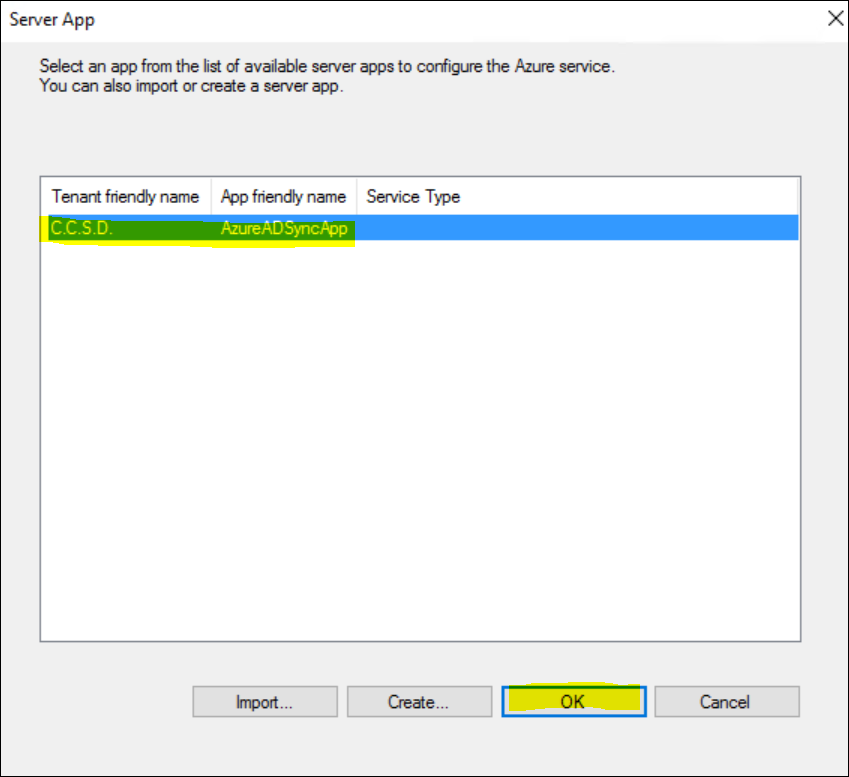
Select you newly created App and Click OK again to confirm your selection.
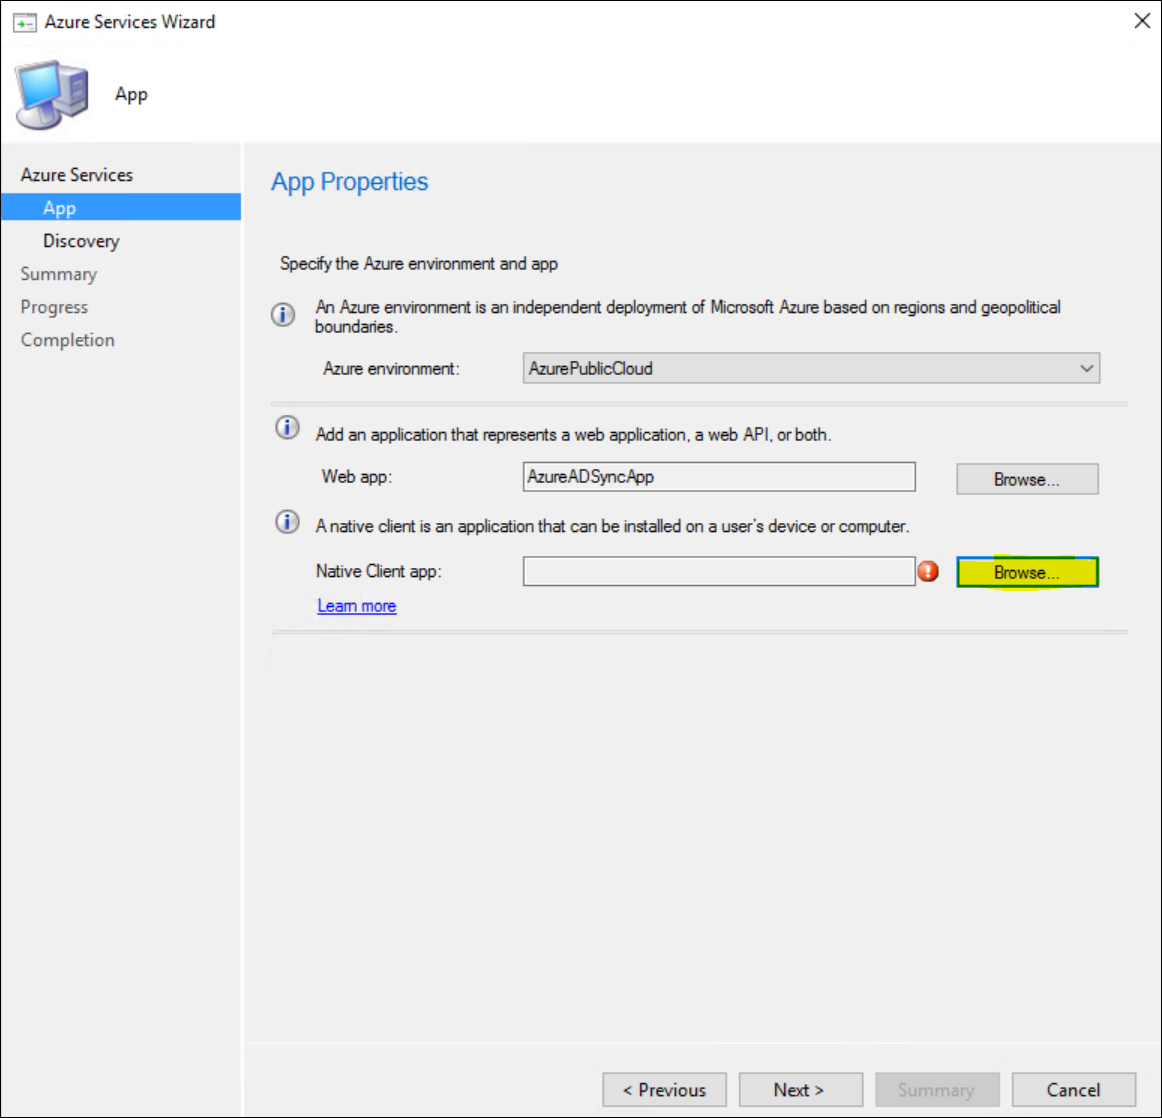
Next, click Browse Again for the Native Client app.
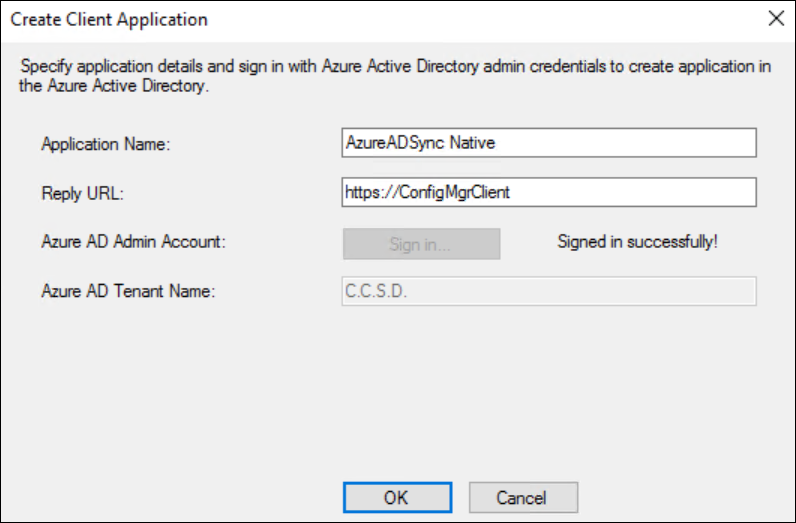
Repeat the process from before and click Create in the Client app window

Provide again an application name and sign in with your Azure AD Admin Account.
Leave the URL as is and if your sign in was successful your Tenant name will again resolve properly. Click OK.
Select your App and Click OK to confirm the selection.
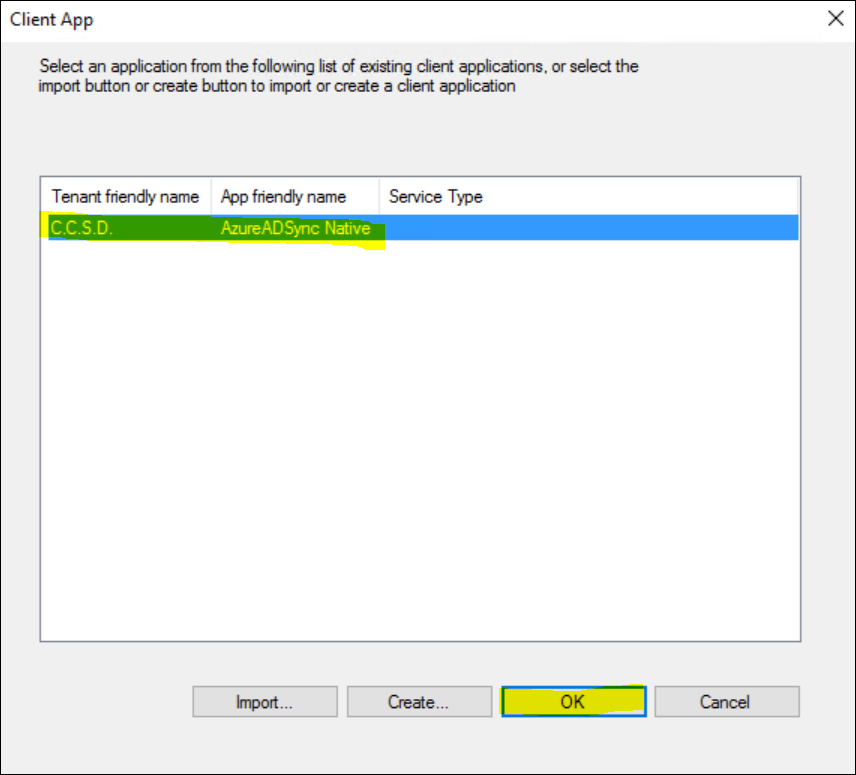
With both our Apps created, we can click Next in the Azure Services Wizard to continue
Assuming that you have setup Azure AD Connect already and synced your users to the cloud, you can now enable Azure Active Directory User Discovery. The settings should be familiar if you have ever enabled any of the on-premise discovery methods.
click Next to continue the wizard.

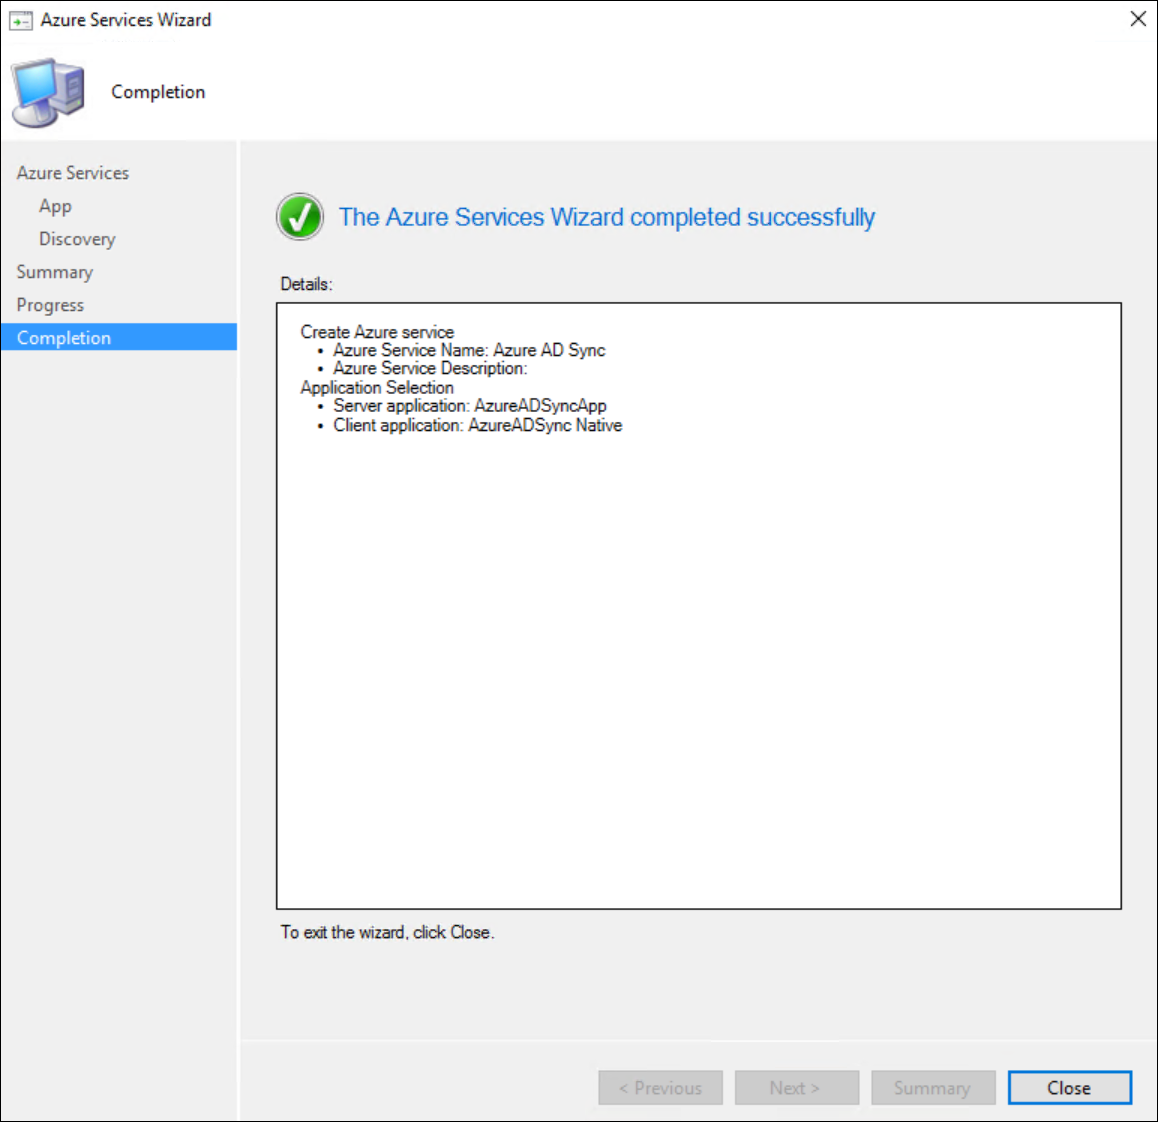
Confirm the settings in the Summary window and if all was done correctly, you can close the wizard.
Note We have just created a Web and a Native App, but what exactly did we do there ? And what is it for ? Think of an App in this regard as a User (or Computer) Account in Azure AD. The Configmgr Admin UI allows you to create it in a convenient way but you can do it manually in Azure AD as well. Once the App is created, a “Client Secret Key” will be generated in Azure, and in our User/Computer account analogy, this would be the equivalent of the password.
At this point, don’t be tempted to trigger a sync yet as this will not work.We still need to “Approve” both Apps we just created.
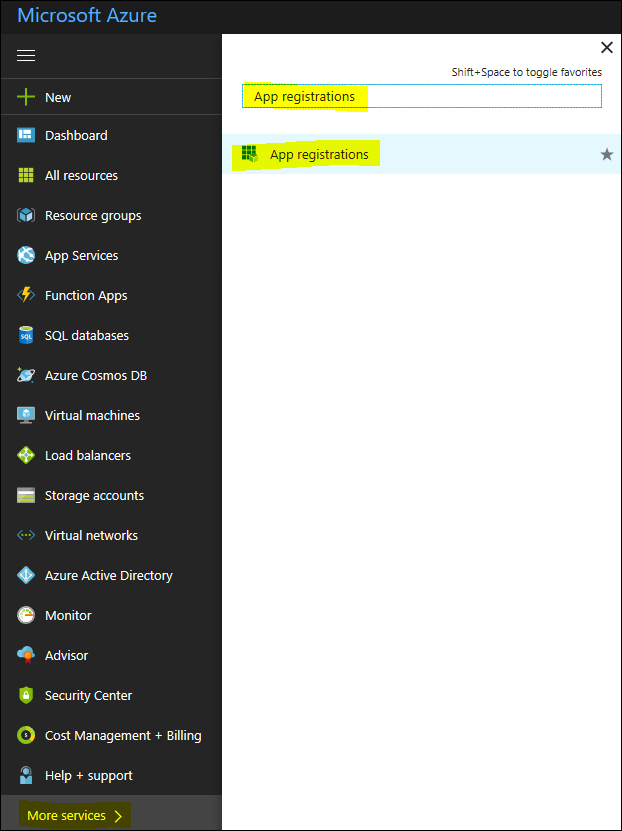
Log on to Http://Portal.Azure.Com with your Azure admin account and under “More Services”, search for “App Registrations and select it.
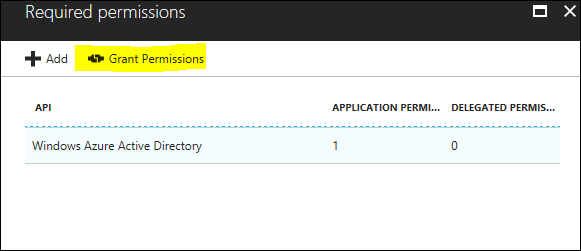
You should be able to see the 2 apps you previously created, 1 web app and 1 native app. Select any of the two and in the following panes click the “Required Permissions” button.
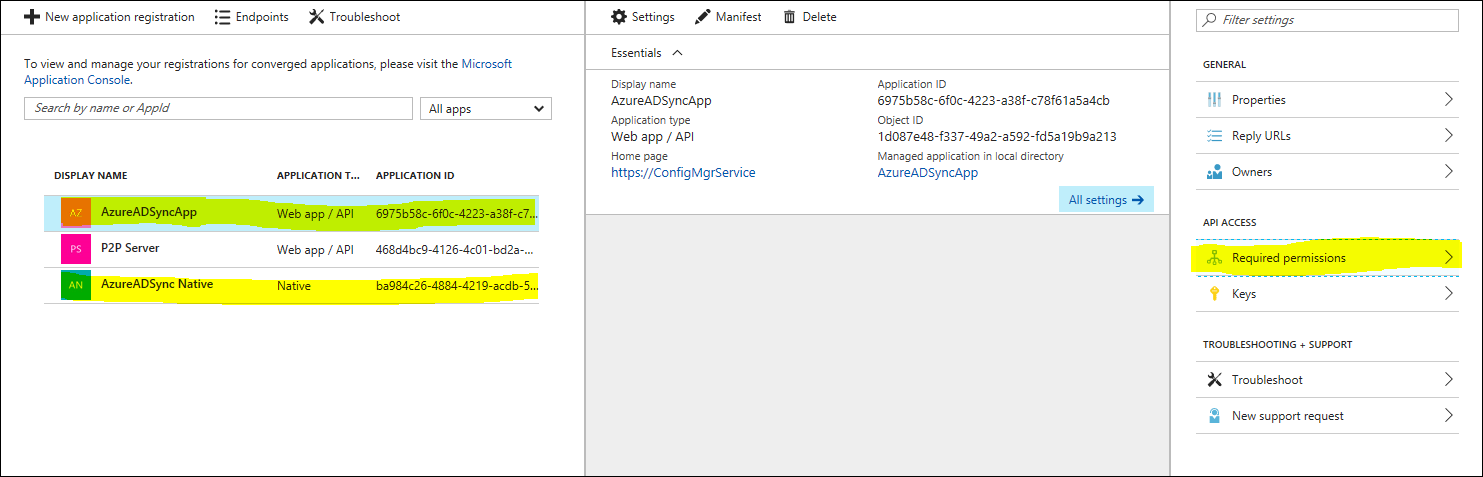
Click on the “Grant Permissions” button to “Approve” the requested permissions for this App.
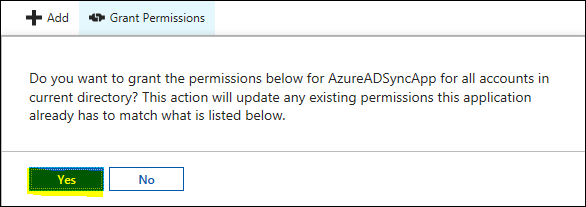
Click “Yes” to Confirm your selection. Make sure to do this for both the Web and Native App.
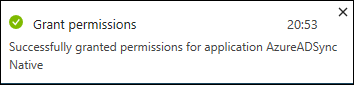
If the permissions were granted successfully, you should see a confirmation in the top right of your Azure portal.
Note As you have noticed, both the Apps need some permissions to function, however it would not make sense that they would approve their own requested permissions, hence these extra steps that give you the final control over what happens.
Once that is done, you can trigger a full Sync in the Admin UI. Synchronization details are found in the “SMS_AzureAD_Discovery_Agent.Log”
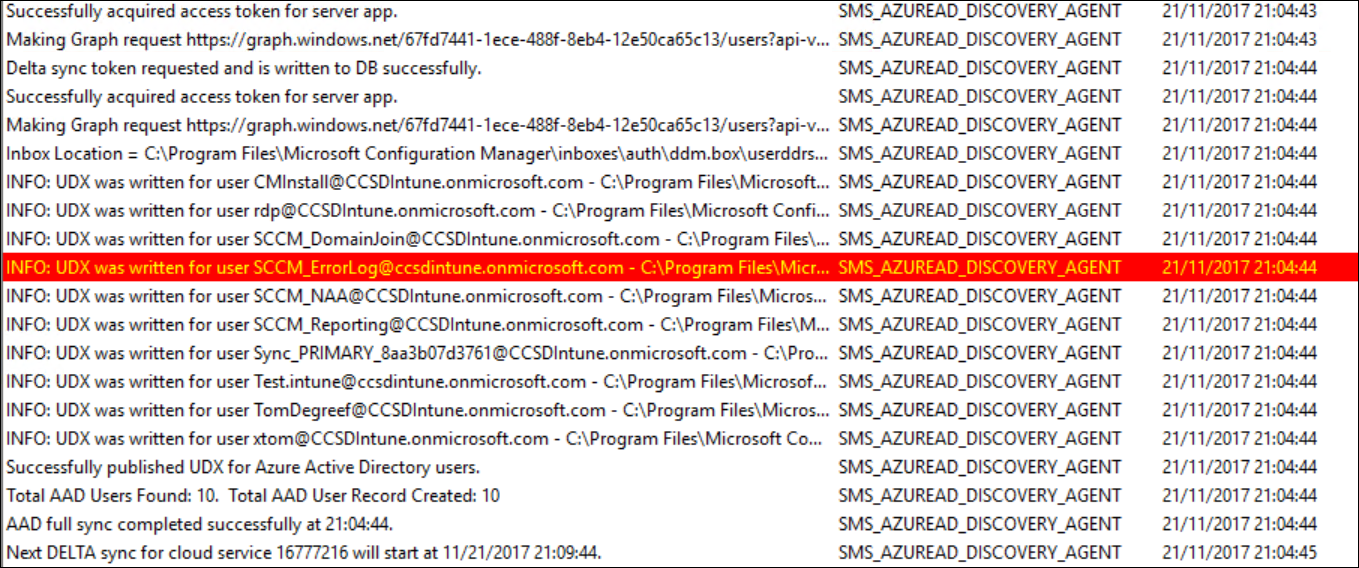
If you would open that log and it is full of errors that sync couldn’t happen because it is “Unauthorized”, and you properly completed the steps above, just give it some time. in my tests it took up to 10 minutes before the sync started to work after I approved the apps in AzureAD.


Leave a Comment